
First, you need a template. Cut two sheets of paper and roll them into tubes. Then, use sticky tape to secure the sides and bottom. Insert a wooden stick into the long tube and tape it to the top. Now, attach the handle to the bottom of the flag.
You can now see how to make a flag. It’s pretty easy, right? But there’s a trick to it. You need to use the correct technique when doing this. Take a piece of fabric and cut it out into patterns. Then, use glue to glue them into place.
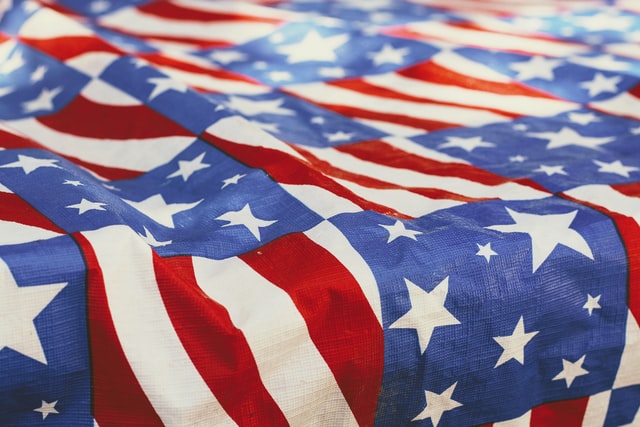
For the American flag, you’ll need a blue rectangle, seven equal-length stripes, and a five-pointed star. You can also add bubble letters to your flag and make it look really cool. You can even make a homemade flag out of old clothes. It’s a lot easier than you might think!
Sewing the Pieces Together
Once you’ve cut out your patterns, you can start sewing the pieces together. For the basic structure of a flag, you’ll need a piece of fabric that’s about one-and-a-half yards by one yard. If you want to make a smaller flag, you can use pillowcase fabric.

If you want to be extra creative, you can also use any fabric for the details. And finally, you can attach a handle to the flag, which can be a tree branch or an old broom pole. To create a flag, you need a sturdy, long-lasting fabric. It should be around 1 2/3 yards by one yard.
You can also use an old pillowcase to make it smaller. After this, you can begin to decorate it. You can use embroidery thread or any other kind of fabric for the details of your flag. You can use a tree branch, a broom pole, or a wooden rod to create a sturdy handle for your flag.
Essential Tips to Keep in Mind
To create a flag, you should start by cutting a large piece of fabric into a rectangle. This will make the material larger. Then, you should stitch the corners of the fabric to form a rounded edge. You can then attach the handle to the pole using fabric glue.
If you choose to use a broom pole, you can also use a tree branch to hang your flag. The fabric should be glued to the pole. To create a flag, you should begin by cutting out a piece of fabric. You should then choose a colored fabric.
You can use an old tablecloth, pillowcase, or a tree branch. You can also use an old broom pole to attach your flag to the pole. If you prefer to make a flag with paper, you can do the same method. The fabric should be durable and waterproof.
You should cut a piece of fabric 1 2/3 yards by one yard. If you have a smaller flag, you can use pillowcase fabric. Likewise, you can use any type of fabric for the details of the flag. When making a DIY flag, it’s important to measure the dimensions of the finished product.
It should be no more than two feet in diameter. If you’re going to make a larger flag, you need to measure it to be sure it fits. Next, you need to cut a piece of fabric 1 2/3 yards by one yard. Cut another piece of fabric to the appropriate size. To find helpful recommendations, see Ultimate Flags.
Then, cut a rectangle of fabric so that it is the same width as the base fabric. Now, glue the colored fabrics to the base fabric. Once this is done, you’re ready to hang your flag. It’s best to have a sturdy handle. Otherwise, you’ll need a wooden pole or tree branch.
The Importance of Fabric Choice
To make a flag, you need a fabric that is one and a half yards in width. Depending on the size of your flag, you can use an old pillowcase fabric to make a small one.
You can also use fabric from an old shirt. You’ll need a piece of wood or broomstick for the handle of the flag. After that, you can begin painting the surface of the flag.


